A year and a half ago, I wrote about a spanky little computer I built for my Jeep. It had been working like a boss for a little more than a year before it started to malfunction. Whereas it used to acquire a GPS fix almost instantly, it started to take several minutes to find the satellites. And the “trip timer” function (which measured trip time and average speed) no longer worked correctly. Every time the car was powered on, the clock was reset to 7:59pm or 6:59pm (depending on daylight savings status). After getting a GPS fix, the time would correct itself, but as far as the computer was concerned, the trip started at the pre-fix time, often adding several hours to the actual trip time.
My first suspicion was that the external antenna had gone bad. It’s encased in black plastic, and it sits on top of the dashboard. I imagined that the hot, summer sun baked it somehow, so the computer could only use its internal antenna, tucked (with the rest of the main processing unit) tightly under the dashboard. I ordered a new antenna, and started designing a small, protective case that I could print in white PLA, so the antenna would have some protection from direct sunlight. I decided that it would also make sense to replace the black enclosure that I had printed for the display with a white enclosure, and put a back on it for additional protection from the sun. When I pulled the display out of the car, I realized that the heat had taken a toll. The black enclosure had melted, and was drooping around the display.
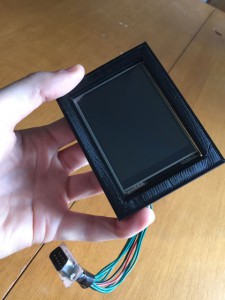
Before: The enclosure was nice and square when it was first installed.

After: A year and a half in the sun took its toll.
I literally had to cut away the enclosure to get the display out of it, as the PLA had so tightly molded itself around the back circuit board. Fortunately, I now have my own 3D printer, so I could use the same STL file to print a new copy of the enclosure, and design a cap to provide some shade for the back side of the display circuit board.
Finally, the main processing unit — the Arduino with the GPS shield, and all the assorted connections — was shoehorned into an awkwardly shaped, generic enclosure that I had purchased at Radio Shack [moment of silence, please]. So that was due for a new, custom enclosure. I made a pretty simple box, with some cutouts for the power and USB connectors, and holes where I could mount the GPS antenna connector and temperature sensor plug.
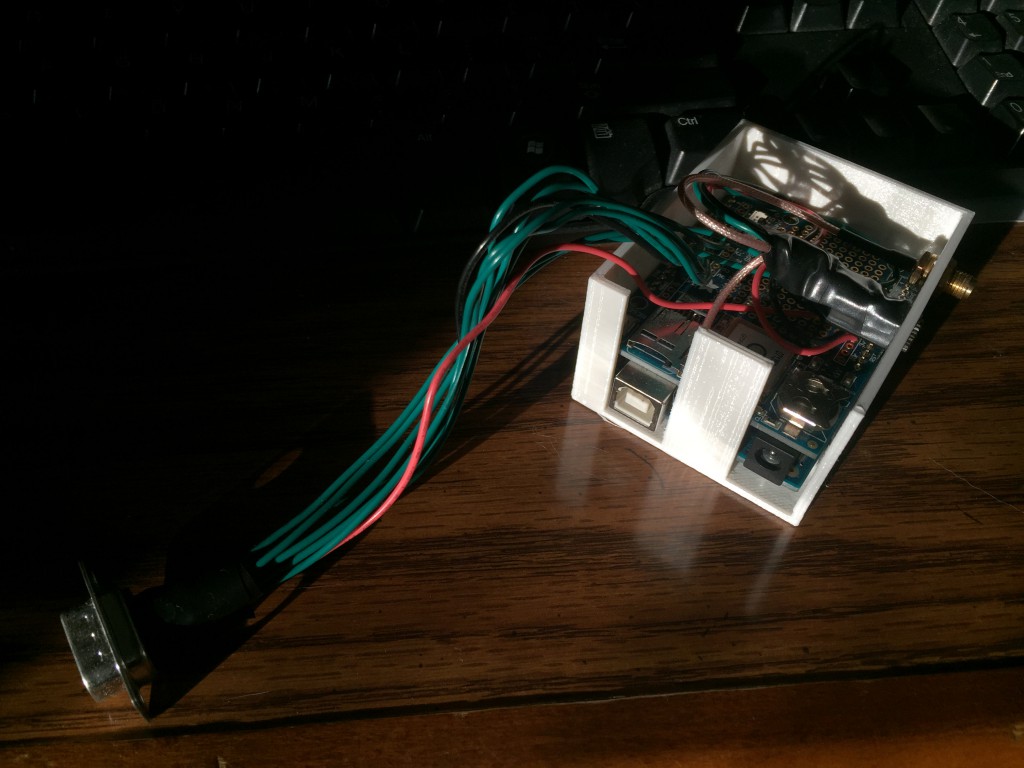
After putting all of that together, the new antenna I had ordered arrived. I tried it out… And it made no difference. So on to the next step of troubleshooting. I remembered that the GPS shield had a built-in real time clock (RTC). That would have been the module responsible for maintaining the time when the device was powered off. I assumed also that keeping accurate time between power cycles would allow the GPS to establish a faster fix on the satellites. I pulled out the RTC battery (which was a CR1220 form factor). My multimeter happens to be dead now (due to a blown fuse) so I couldn’t test it. Fortunately, batteries are cheap. I got a new battery, and now the time is correct upon powering up, and the unit gets a fix within a few seconds. In the interim, I did make a minor tweak to the Arduino code. Previously, I depended on the unit maintaining the correct time between power cycles, so I started the trip calculation (time and average speed) immediately. Now, I wait until the GPS has a fix to start the calculations. In the normal case, the fix only takes a few seconds. However, the next time the battery dies, it will still affect the time it takes to find the satellites, but it will no longer cause the trip calculations to be totally erroneous.